Maintaining healthy nails is important for both appearance and hygiene. Filing nails is a fundamental skill for nail care that helps prevent splits and breakage. It is a simple technique that can be mastered at home, eliminating the need to visit a salon for this basic maintenance.
When it comes to filing, the distinction between the right and wrong method is crucial. It’s not just about shaping the nail, but also about preserving the integrity of the nail’s edge. By understanding the proper way to file, we ensure our nails are not only aesthetically pleasing but also less prone to damage.
Chapter Overview
Prepare Your Nails For Filing
The key to success for every treatment is preparation. The better your preparation, the better the results will be.
Step 1 – Wash and Your Hands
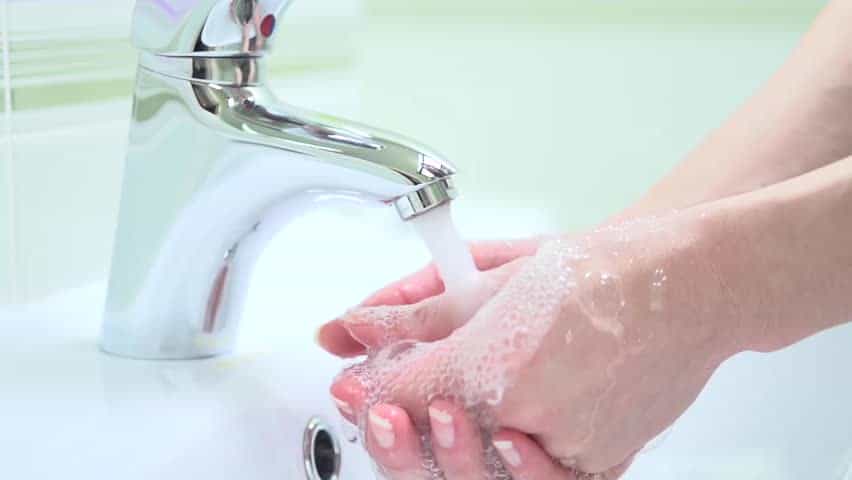
Before we start filing our nails, it’s essential to wash our hands thoroughly to remove any oil or residue that could affect the filing process. Here’s how to ensure our nails are prepped:
- Wash with soap and water.
- Dry your hands completely to avoid dehydrating the nails which can lead to breakage.
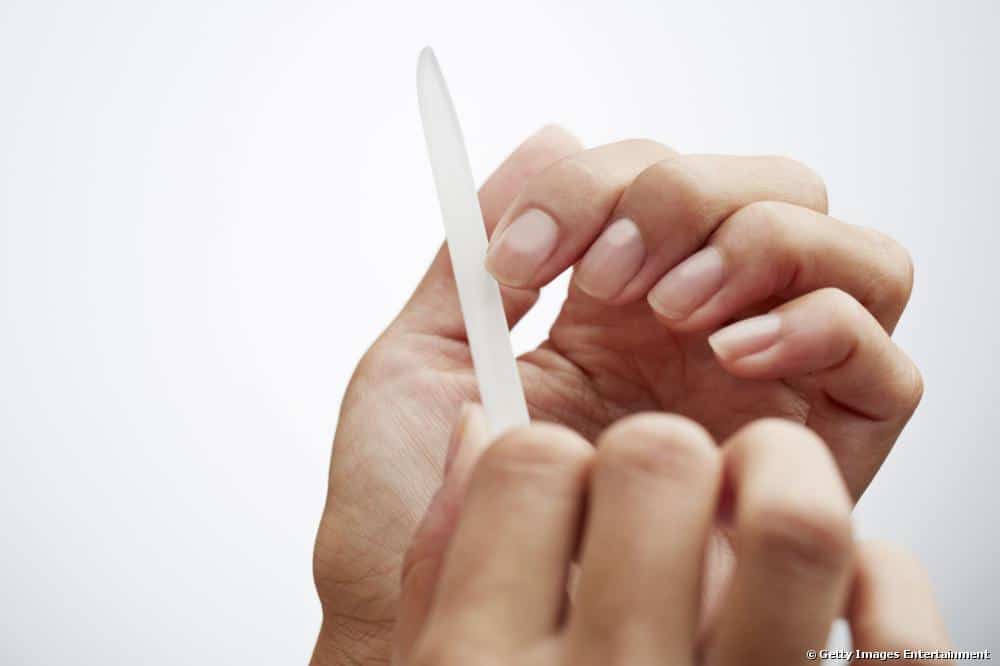
Step 2 – Choose a nail file

Choosing the right file is crucial for a smooth finish. Consider these points when selecting your nail file:
- Emery boards: Opt for one with a grit of 240 or higher for natural nails.
- For acrylic nails: Use coarse grits around 80-100.
- Avoid metal files to prevent tearing.
- Glass or crystal nail files: These are delicate on nails and easily sanitized.
| Types of Files | Grit Number | Usage |
|---|---|---|
| Emery Board File | 240-600 | For natural nails for a smooth finish |
| Coarse Grit File | 80-100 | For shaping acrylic nails |
| Glass/Crystal Nail File | – | For a refined shape and easy sanitation |
Step 3 – Choose the right shape
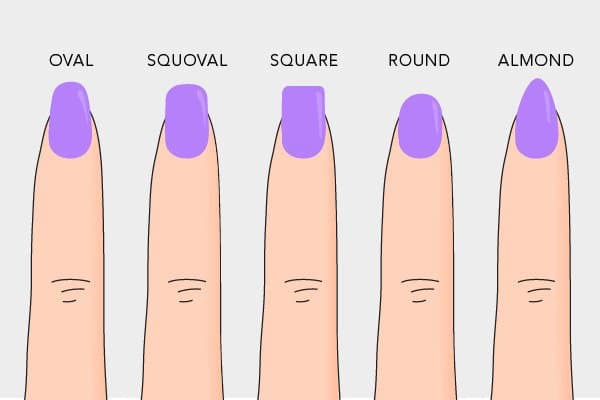
We can choose from various shapes that suit our lifestyle and personal style. From the classic oval to the bold square, each shape has its benefits:
- Oval nails are less prone to breaking, great for growing out nails.
- Square-shaped nails make a statement and suit longer nails best.
- Almond nails are ideal for creating the illusion of slender fingers.
Shape your nails
Step 1 – Cut your nails
To achieve your desired nail shape, we often need to start by trimming them. When aiming for oval nails, we carefully cut our nails a bit shorter, and to achieve that lovely oval shape, we make sure to follow an oval pattern while trimming. In contrast, for those of us who love the look of square nails, we can often skip trimming since a square shape tends to look better on longer nails. For almond nails, we focus on cutting the sides more than the tip to create that tapered appearance.
Step 2 – Filing your nails
Filing in one direction is key to achieving smooth, shaped nails without damage. We start by holding the nail file parallel to our nail’s side to prevent breakage. As we file from the side to the center of the nail, we maintain a fluid motion, ensuring each stroke moves in one direction towards the center. We must avoid a back-and-forth sawing action as it can weaken the nails. To avoid thinning the nail edge, we ensure the file is flat against the nail tip, slightly tilted underneath if needed, especially when working with thin nails.
Step 3 – Finishing touches
Once the basic shape is formed, we finalize the contours by filing the opposite side of the nail. After each stroke, we lift the nail file away rather than dragging it back, which reinforces our one-direction technique and contributes to the smoothness of our nail’s edge. This method not only refines the shape—round, square, oval, or almond—but preserves the strength and integrity of our nails. Whether we aim for natural shape or something more sculpted like coffin or stiletto styles, this filing technique is essential.
Bonus Tips
To maintain healthy nails and mitigate the risk of damage, breaking, or splitting, here’s a guide for best practices:
- Filing Nails: Use a 240-grit file to prevent tearing. Gently sweep the file in a unidirectional side-to-center motion.
- File Positioning: Hold the file flat to the nail tip to avoid thinning.
- Soaking: Skip soaking in soapy water if nails are prone to breakage.
- Sides Filing: Avoid filing too far into the sides to strengthen stress points.
- Short Nails Solution: A neutral polish on short-filed nails can create an illusion of length.
- Nail Care: For frayed nails, trim, refile, and apply a vitamin E-enriched nail oil for hydration.
Remember, achieving a pro-level manicure at home is possible if we adopt these techniques. You don’t have to be a celebrity manicurist to have fabulous nails—just follow these step-by-step guidelines for the best results.
Should you ever go too short or over-file, there’s no cause for alarm—nails regenerate. In the interim, manage them with care and use cuticle oil to aid recovery.
Regular use of a nail brush during DIY manicures can keep your nails clean, complementing your filing routine. And for those inspired by celebrity nail artists on Instagram, rest assured that the slow and steady approach they endorse is achievable in your manicure endeavor—no salon trip required.