Creating press-on nails at home provides a fun and cost-effective way to keep one’s nails looking stylish and well-manicured. This DIY approach not only saves money but also allows for complete creative control over the designs, shapes, and sizes of the nails.
Press-on nails cater to those who desire a non-permanent nail enhancement solution, making it a popular choice for special occasions or simply as a way to express one’s personal style without the commitment of traditional acrylics.
Crafting press-on nails involves selecting the right materials and preparing the natural nail for application. By paying attention to the fit and proper adhesion, these customizable nails can achieve a professional look from the comfort of one’s home.
Whether one plans to wear them for just a night out or for a couple of weeks, the process of making and applying press-on nails is straightforward, offering a convenient alternative to salon visits. Let’s talk in depth about how to make press on nails.
Chapter Overview
Key Takeaways
- Press-on nails offer a customizable and temporary nail enhancement option
- Proper preparation of materials and natural nails is essential for a professional look
- With correct application and care, press-on nails can be a convenient and cost-effective alternative to salon manicures
Getting Started With Press-On Nails
Starting with the right foundation is key for perfect press-on nails. She’ll want to select the proper fit and prepare her natural nails well, so they’re ready to become the canvas for her fabulous new look.
Choosing the Right Size and Shape
When they’re ready to dive into the world of press-ons, individuals will first need to choose nails in a size and shape that complement their natural nail. Here are the steps:
- Measure: Press the press-on nail against the natural one to ensure it covers the nail comfortably without spilling over the sides
- Shapes: Pick a shape that suits their lifestyle. Common choices include round, square, or stiletto
Remember, if one is stuck between sizes, it’s better to go for the smaller size for a more natural look.
Nail Preparation Steps
Proper nail preparation leads to a longer-lasting manicure. They should follow these steps for the best results:
- Clean: It is essential to remove any existing polish and clean nails thoroughly with soap and water
- Buff: Lightly buff the surface of each nail to create a rougher surface for the press-on to adhere to
- Alcohol Wipe: Use an alcohol wipe to remove any oils. This helps the press-on nail to stick better
- Fit: Once nails are clean and dry, align the press-on nail starting from the cuticle and then press down towards the nail edges
An individual’s nail kit might have additional tools like a nail file to smooth edges or a buffer for the nail surface – using these can enhance the effectiveness of their manicure.
Applying Press-On Nails
When one decides to embark on the journey of self-applying press-on nails, the key lies in the precision of application and choosing the right adhesive method. Whether one opts for nail glue or adhesive tabs, the longevity of their press-on nails will largely depend on these initial steps. Here is our full guide for how to make press on nails.
Applying Adhesive
The choice between nail glue and adhesive tabs sets the foundation for press-on nails. If using nail glue, apply a small drop on the press-on nail and a tiny amount on her natural nail, ensuring it spreads evenly. For those who prefer adhesive tabs, they should carefully align the tab with the nail, pressing it firmly to secure it in place.
Proper Placement Techniques
Once the adhesive is on, she should hold the press-on nail at a 45-degree angle to the nail bed, guiding it down with her other hand for a precise fit. Starting from the cuticle and rolling forward ensures a bond without air bubbles. The thumb might be trickier, so she should save that for last, giving herself time to become comfortable with the technique on the smaller nails first.
Customizing Your Press-Ons
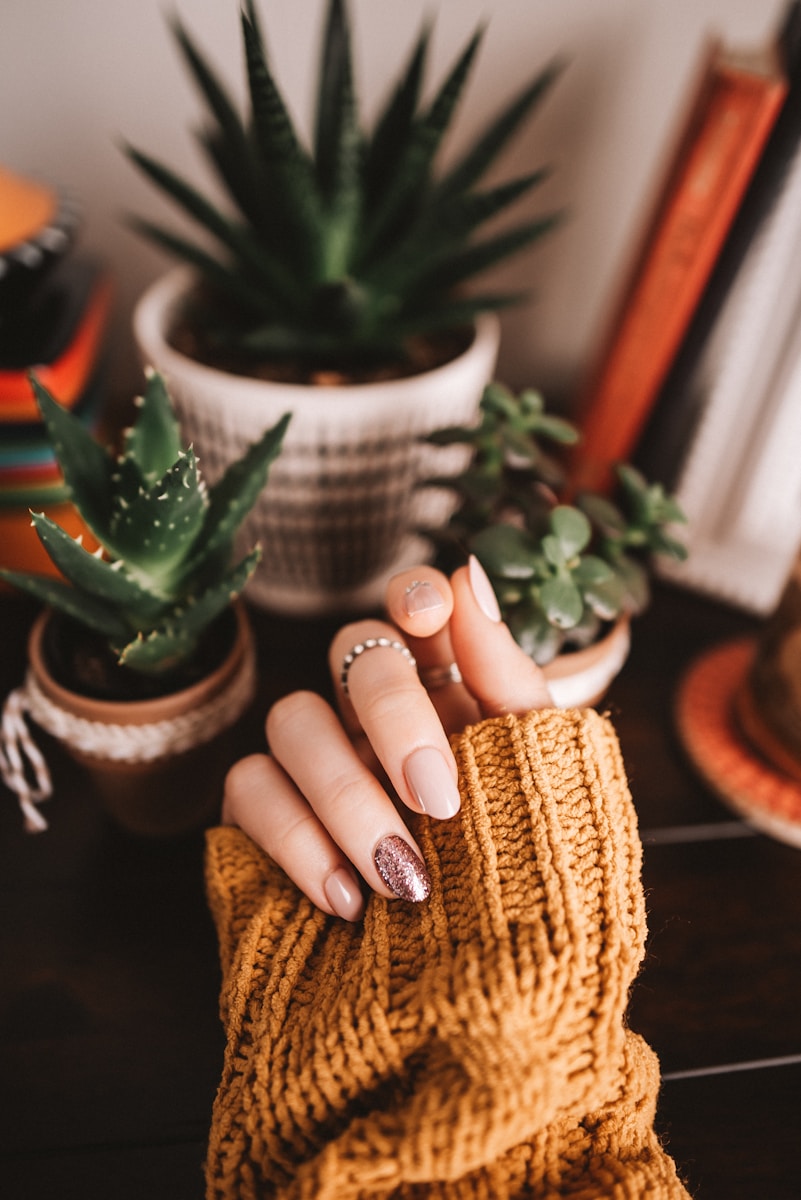
Creating custom press-on nails is a fun way to express one’s personal style. Whether one prefers their nails long, short, or shaped like an oval, coffin, ballerina, stiletto, or square, the customization process allows for endless creativity.
Trimming and Filing
To begin, selecting the correct size for each nail is crucial. If the press-ons are too long or wide, they can be trimmed down using a nail clipper. After trimming, the next step is to shape the nails to the desired style. Nail files play a significant role here; a 180 grit nail file is most commonly used for smoothing edges and filing the nails into the perfect silhouette for one’s hands.
- Long Nails: Use the file in smooth, even strokes to achieve a graceful elongation
- Short Nails: Careful filing is key to maintaining strength while achieving a chic, tidy look
Adding Nail Art
Once the nails are shaped, adding nail art can bring them to life. The possibilities are as broad as one’s imagination, with options ranging from simple designs to elaborate artwork.
- Designs: Apply color with nail polish or use intricate nail art stickers or decals for added detail
- Textures: One can experiment with materials like foil, lace, or rhinestones to add texture and sparkle to their nails
For those who prefer an understated look, a coat of glossy or matte polish in a single color can be just as striking. It’s important to remember to seal the nail art with a clear topcoat to ensure longevity and shine. Whether one is aiming for an everyday look or something more suitable for a special occasion, custom press-ons can be tailored to suit anyone’s style, with the right tools and a little bit of creativity.
Maintenance and Care
Maintaining press-on nails not only keeps them looking great but also ensures the health of the natural nails beneath. By following a few care steps, one can extend the life of their press-on nails and keep their natural nails in top condition.
Ensuring Longevity
To keep press-on nails adhered firmly for as long as possible:
- Prep Properly: Before application, ensure natural nails are clean. Use nail polish remover or rubbing alcohol to remove oils and debris
- Top Coat Application: Applying a top coat over press-on nails can prevent chips and extend wear time
- Avoid Water Excess: Limit prolonged exposure to water to prevent loosening
- Gentle Use: Protect the nails by using tools instead of nails for tasks like opening cans
Nail Health Tips
Preserving the health of one’s natural nails is crucial:
- Cuticle Care: Gently push back cuticles with a cuticle stick instead of cutting them, preserving the natural barrier to bacteria.
- Nail Prep: Use a nail file with gentle pressure to smooth edges, avoiding damage
- Alcohol & Remover Use: When cleaning nails, opt for alcohol wipes — it’s effective and less harsh than some removers.
- Regular Clean Up: Keep the underside of press-on nails clean to prevent bacterial growth
Removing Press-On Nails Safely
When it’s time to bid farewell to press-on nails, one’s top priority should be to protect the natural nail beds from damage. Here’s the lowdown on how to strip those stick-ons without inviting trouble.
Tools and Techniques
Before starting the removal process, make sure to have the right tools on hand:
- Nail clippers: Trim down the press-ons to avoid unnecessary tugging
- Cuticle-pusher: Gently lift the edges of the press-on nails
- Small bowl: Preferably not plastic if acetone is used
- Nail polish remover: With acetone for a quicker dissolve, or without if sensitivity is a concern
- Warm water: Soaking in warm, soapy water can help loosen the nails
- Alcohol wipe: Clean the nail surface afterward to remove any residue
One should follow these steps:
- Clip the press-on nails to a manageable length, but be gentle to avoid stress on the natural nails
- Soak hands in a small bowl of warm soapy water for about 10 minutes or until the nails start to loosen
- Apply a generous amount of nail polish remover around the edges if necessary, and use the cuticle pusher to help lift the nails off gently
- If the press-ons are stubborn, patience is key—don’t force them off. Instead, repeat the soaking process
Aftercare Procedures
Once the press-on fake nails are removed, it’s crucial to give some TLC to the nail beds:
- Hydration: Apply a moisturizing product like a cuticle oil or cream to replenish moisture
- Cleaning: Use an alcohol wipe to sanitize the nail area and prepare for the next manicure
Remember to treat the nail beds gently following the removal process. They can be a bit fragile without their protective cover.
A little kindness goes a long way in keeping those nails healthy and ready for your next set of fabulous press-ons.