We all enjoy the allure of well-manicured acrylic nails — they enhance the beauty of our hands and offer a polished, professional look. However, the appeal can wane as nails grow out or when acrylics begin to look unnaturally thick from excess polish. It’s then that we recognize the importance of removing the enhancements before they detract from our appearance.
Thankfully, the removal of acrylic nails doesn’t always require a visit to the salon. With a bit of patience and the right technique, we can safely remove acrylic nails at home without causing damage to our natural nails. Whether you’re sporting a French mani or a full set of nail art, understanding how to DIY the removal process using gel polish and top coat techniques ensures a damage-free transition back to natural nails.
Chapter Overview
Method 1: How To Remove Acrylic Nails Wwith Floss

To effectively remove acrylic nails with dental floss, we require the following:
- Metal Nail File
- 12 inches of Dental Floss
We follow these steps:
- Use the metal file to gently lift the edge of an acrylic nail, creating a small gap.
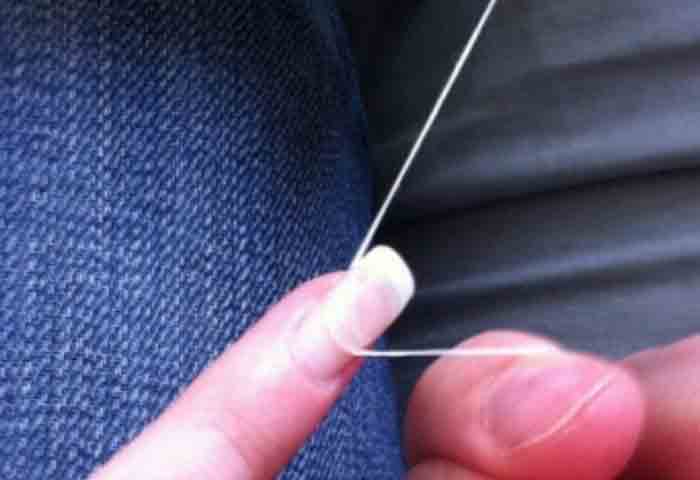
- Have our friend or partner wrap the floss around their index finger for grip.
- Slip the floss under the lifted edge.
- They should then use a sawing motion and gently pull the floss toward the nail’s edge.
- The nail usually pops off immediately after this action.
Note: This method is not suitable for those of us with brittle nails.
Method 2: How To Remove Acrylic Nails With Petroleum Jelly

You will need:
- Nail clippers
- Acetone-free nail polish remover
- Olive oil
- Moisturizing lotion
- An orangewood stick
- Acetone nail polish remover
- Nail file
- Nail buffer
- A glass bowl
- A clean towel
Steps:
- Trim Nails: Use nail clippers to cut the acrylic nails as short as you can without causing discomfort.
- File and Buff Nails: Gently file and buff the nails to remove the glossy surface. Move the file and buffer around each nail to avoid concentrating on one spot.
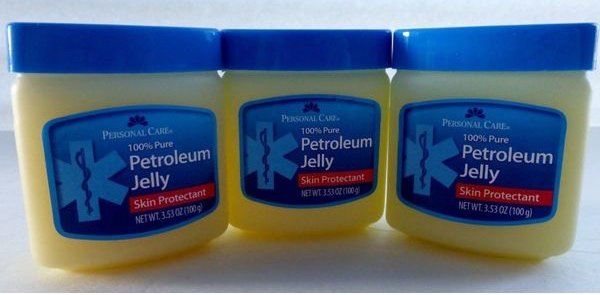
- Protect Skin: Generously apply petroleum jelly around the nail bed to shield your skin from the drying effects of acetone.
- Acetone Soak: Submerge your nails in a glass bowl filled with acetone nail polish remover for 15 minutes. The adhesive binding the acrylic to your nails will loosen.
- Remove Acrylic: If the acrylic nails do not come off easily after soaking, avoid forcing them; re-soak if necessary to prevent nail damage.
- Clean Up: Thoroughly wash away the petroleum jelly and any residue with water, then towel dry.
- Buffer Remaining Glue: If glue persists, gently buff it away.
- Moisturize: Finish by applying olive oil and a moisturizer, like hand cream or cuticle cream, to nourish your nails and skin.
Method 3: How to remove acrylic nails with clipping nails

To effectively remove acrylic nails by clipping, we follow these steps:
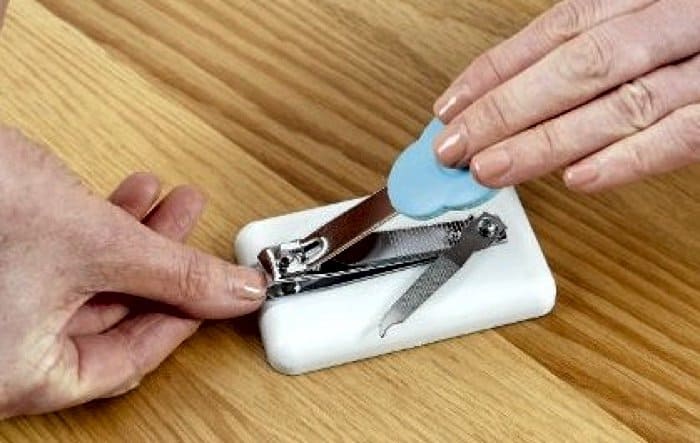
- Trim the Nail Tips: With nail clippers, we start by cutting down the tips of our nails as far as we can comfortably go.
- File the Nails Down: Using a course nail file or electric file, we file down each acrylic nail. An emery board can work if a standard file is not available.
- Buff the Nail Surface: We take a nail buffer, utilizing the coarse side to file the acrylic down to a thin layer on the nail plate.
- Acrylic Nail Removal: We carefully use a cuticle stick or an orangewood stick to lift the edge of the acrylic. This is followed by inserting the tip of cuticle scissors under the lifted edge to clip away the acrylic.
- Final Touch-ups: After the bulk of the acrylic is off, we remove any remaining material with the nail buffer until the nail bed is smooth.
- Shape and Care for Your Nails: We use nail clippers and a glass nail file (or your preference) to shape the natural nail and apply cuticle oil or homemade moisturizers like olive oil to promote nail health.
By following this method, we ensure our nail beds remain intact without causing any unnecessary damage.
Method 4: How To Remove Acrylic Nails With Cotton Ball Treatment

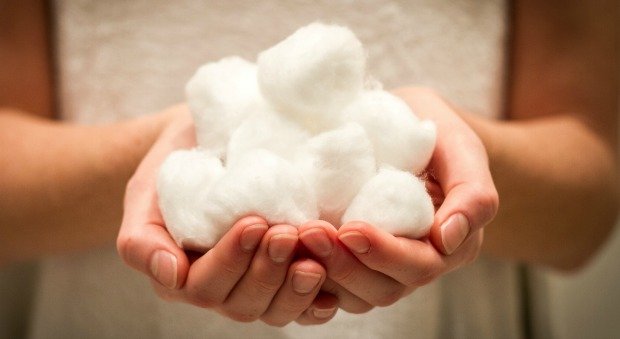
- Step 1: Soak cotton balls in acetone nail polish remover.
- Step 2: Place a soaked cotton ball on each nail.
- Step 3: Secure with aluminum foil around each fingertip tightly.
- Step 4: Allow nails to soak off for 20 minutes.
- Step 5: Remove foil and cotton balls one finger at a time.
- Tip: If there’s residue left, wrap the nail again for a few more minutes.

