As we embrace the evolution of nail beauty, SNS nails have emerged as a standout choice, especially for those seeking healthier alternatives to traditional manicures. These signature nail systems not only offer a myriad of over 350 gelous colors but also boast benefits for the nail’s health with each application. Their popularity is no surprise, given that they provide a more natural feel and impressive durability of up to two weeks.
When the time arrives to bid farewell to our SNS nails, we find a compelling reason to understand the removal process. Unlike acrylics, SNS nails cannot simply be filled in, necessitating their complete removal after their lifespan. This introduces an opportunity for us to master the technique of safely removing SNS nails at home, sparing the added trip to the salon. It’s a practical skill that enhances the SNS experience, allowing for the frequent refreshment of our nail aesthetics.
Chapter Overview
Why Dip Nails?
- Healthier for nails: Unlike gel nails, we avoid UV light exposure with dip powder manicures.
- Durability: Our dip nails last up to 3-4 weeks.
- SNS & dip powder: SNS is a known brand, but dip powder nails are the broader category we enjoy.
- Versatility: Options range from the natural look to the bold, rivaling fake nails in terms of variety.
How To Remove Dip Powder Nails?
Classic Nail Removing Treatment With Acetone
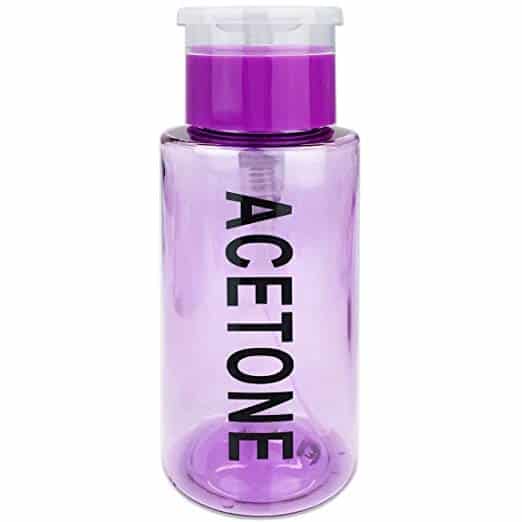
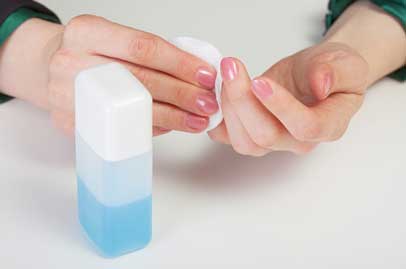
When we attempt to remove SNS nails, we often rely on acetone, which is a solvent known for its efficiency in dissolving nail products. To begin, there’s no need to sand off the colored layers, just the shiny top coat. Here’s a simple guide:
- Pour pure acetone into a small bowl. Ensure there’s enough to fully submerge the nails.
- Soak our nails for about 10 minutes.
- After soaking, if the polish has softened, we can wipe it off with a paper towel.
- If the polish is still stubborn, we may need to let our nails soak for another 10 minutes.
Despite being effective, consider that acetone can sometimes cause irritation and should be used in a well-ventilated area.
Remove SNS Nails With Nail Polish Remover
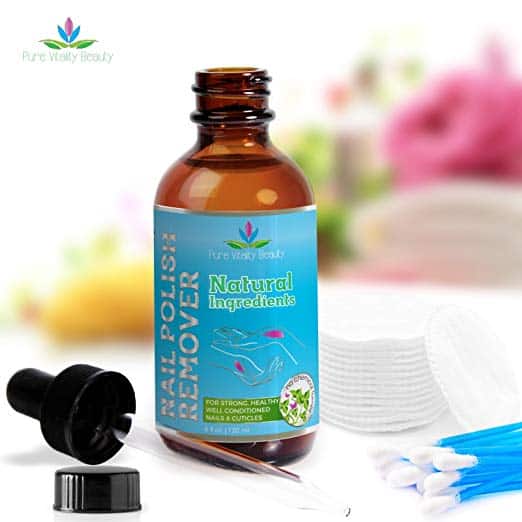
Nail polish remover, often infused with oils and fragrances, can also serve as an alternative to pure acetone. It usually takes longer, though:
- Prepare by pouring nail polish remover into a small bowl.
- Submerge our nails for 20 to 25 minutes.
- Once the manicure dissolves, we gently wipe the residue away.
This method is less aggressive compared to acetone, making it a gentler option for our nails.
Use Alcohol To Remove Nail Polish
Alcohol-based solutions, such as rubbing alcohol, can be a substitute for acetone. The process is as follows:
- Sand the top shiny layer off the nails to allow better penetration of the solvent.
- Soak our nails in alcohol, and be patient since it may take around 30 minutes or more.
- As with other methods, once the dip powder feels sticky, we wipe it off layer by layer.
Using alcohol requires adequate ventilation due to fumes, so we should take proper precautions.
Aluminum Foil For Removing The Manicure
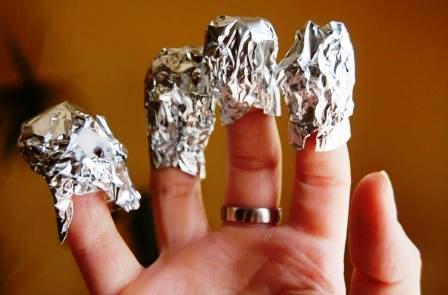
Combining acetone with aluminum foil helps localize the treatment and minimize exposure. Here is how we do it:
- File the top layer of the manicure.
- Soak a cotton ball in acetone and place it directly onto the nail.
- Wrap each nail with aluminum foil to secure the cotton balls.
- Let our nails soak for about 15 minutes.
- Remove the foil and use the cotton ball to wipe off the now-softened powder.
After the process, any remaining residue can be filed off gently.
Household Items For Removing The Manicure
In addition to typical removers, we can also use everyday items to tackle SNS manicures. These methods may need more patience and time but can be less harsh. Here are some DIY methods we can consider:
- Applying a slow-drying polish and wiping it off repeatedly can slowly remove the layers.
- White vinegar, thanks to its acidity, can act as a natural polish remover. Soak the nails after sanding down the top layer.
- Create a paste using baking soda and toothpaste and scrub the nails to lift the polish.
- Combining hydrogen peroxide with hot water can weaken the manicure for easier removal post soaking.
After trying these alternatives, we usually need to buff or file the nails to ensure all the product is removed.
How to Take Care of Your Nails After Removing Manicure?
After the manicure is gone, we can’t stress enough the importance of giving nails the attention they deserve. We’ll begin with cleaning. We thoroughly wash our hands with soap and warm water and dry them gently. This is essential for preventing infections and setting a clean base for nourishment.
Next, we focus on nourishing the nails and skin. A fantastic method is to massage our nails with a blend of essential oils. We often use tea tree oil mixed with a carrier oil like coconut or olive oil for its antifungal properties. Lavender oil combined with sweet almond oil is also excellent for its healing properties. Even if essential oils aren’t within reach, a simple massage with just olive or coconut oil proves highly beneficial.
Applying our favorite hand cream regularly helps keep the skin supple. For the cuticles, we never forget to use cuticle oil—it’s a game-changer. Cuticle oil helps to moisturize and promote healthy regrowth.
To strengthen the natural nails, we sometimes apply a nail strengthener. Ensuring our nails have the resilience to grow back strong is integral to their health.
Lastly, we always recommend regular maintenance. This includes gently trimming any split ends and using a nail brush to keep them clean. Monitoring our nails for white patches is crucial, as this could indicate the need for our natural nails to rest.
By following these steps, our nails remain strong, healthy, and ready for the next adventure.