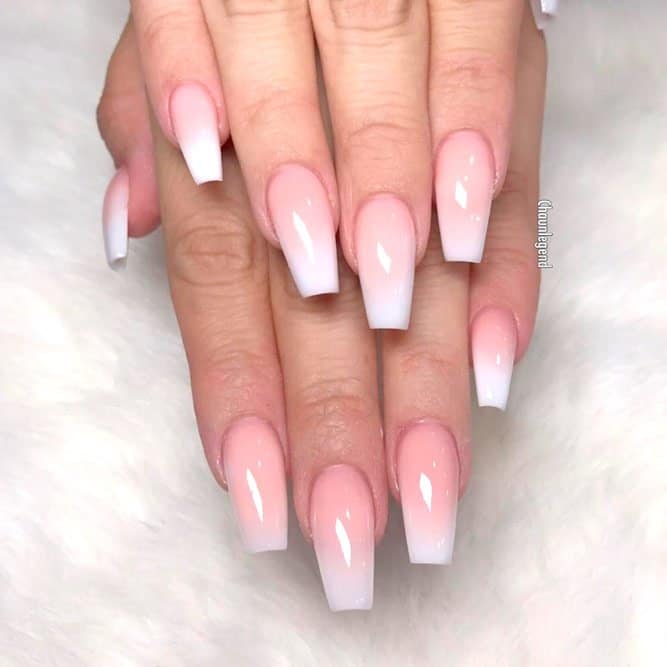
Press-on nails have a salon-ready look that gives off a luxurious look to your hands. They are super-simple to apply and also to remove. Acrylic nails on the other hand take a long time to apply, and are usually done by experienced nail artists if you want to see a good result. If you love your nails and want them to look fresh at all times, press-on nails are the way to go. Read on to see why you should make the change and consider press-on nails for your nails.
Chapter Overview
Why are Press-on Nails Better?
Quick ; Effortless
Press-on nails take very little of your efforts and can be done at a moment’s notice. The glue helps the nail stick to your base and is strong enough to keep them in place for days and even weeks. This can be done in a matter of minutes, and you don’t have to wait for hours for anything to dry.
Keep your nails safe
Applying press-on nails ensures that your own nails remain safe underneath and do not deteriorate or discolor over time. It keeps your nails safe from you as well, if you constantly chew your own nails. The removal application is simple and your nails are protected from harmful effects, unlike those of acrylics.
Have fun!
Acrylic nails can cost you a lot, and force you to spend hundreds of dollars on a single trip. There are chances you may not even like them very much. However, press-on nails allow you to explore different options and designs easily without splurging too much. Clutch Nails is a great brand to start your search as they offer nails of all shapes, sizes, lengths, and seasons.
Simple Steps to Apply Press-on Nails
- Ensure that you have purchased the correct size because they vary a lot. The application process can get unnecessarily hard and won’t seem clean if the sizes are not right.
- Before you begin the application process, clean your hands and your fingers. Clean the back side of your nails and remove any dirt, or wipe off any existing nail polish.
- You can use the sticky tape that come with most nails as a temporary measure to stick them on. However, it’s advised to add glue to the process to help them stay on for days.
- Apply the tape, upon which apply some glue. Make sure that you have not added a lot of glue, as it can take ages to dry and ruin the overall effect.
- Apply the nails starting at the base of your nail, by holding the press-on at a downward angle. Then apply pressure to the center, and then to the sides to press it down firmly.
- File your nails after you have applied them all. Contour your nails from the sidewalls to help the get a natural shape.
Conclusion
Press-on nails are great alternative for completing your outfit. The steps are simple, and a little time spent goes a long way. You can keep some press-on nails for reusing it later which allows you to even practice sustainability as you beautify yourself. Otherwise you can simply pop them off and buy a new style and design to experiment with.

