Gel-X nails are revolutionizing the manicure industry by offering an innovative alternative to traditional acrylic and gel-based enhancements. As a system designed to be both durable and gentle on the natural nails, Gel-X is often favored for its ability to combine the strength and longevity of gel with the versatile sizing and shaping options of acrylics.
Unlike other nail extensions, Apres Gel X nails come pre-shaped and are applied directly onto the natural nail, avoiding the harsh chemicals and rough filing often associated with acrylics.
For individuals who love the idea of customizable nail length and style without compromising nail health, Gel-X could be an excellent choice.
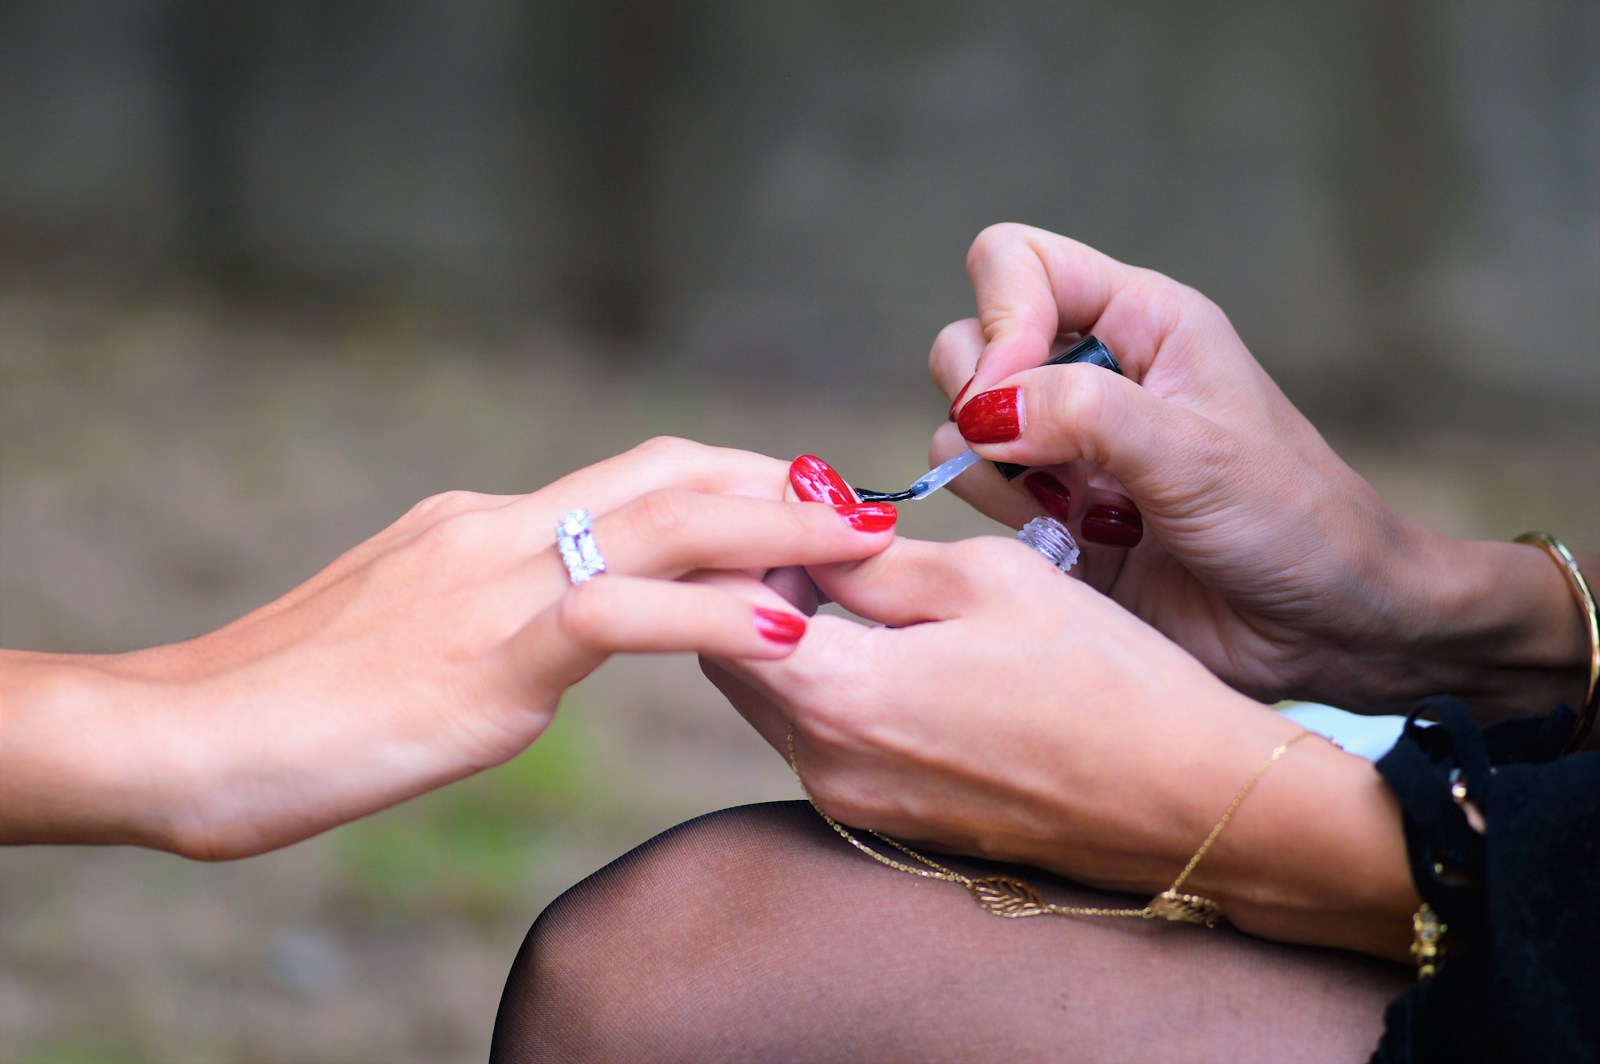
The application process involves adhering a soft gel nail extension using a special gel adhesive that cures under UV light. This creates a smooth, seamless blend with the natural nail, which many find comfortable and flexible to wear.
Plus, when it’s time for a change, Gel-X nails can be removed with minimal impact on the underlying nail, making them an attractive option for those mindful of nail care and maintenance. Today, we will talk about what is Gel X nails. Let’s find out.
Chapter Overview
Key Takeaways
- Gel-X nails provide strength similar to gels, with acrylic-like customizability, while being gentle on natural nails
- They come pre-shaped and are applied with a UV-curable adhesive for a seamless finish
- Gel-X nails are known for comfortable wear and are easily removable with minimal damage to the natural nail
Understanding Gel-X Nails
Apres Gel X extensions have revolutionized the nail industry, offering a quick and easy application process for those who love long-lasting, natural-looking nail extensions. They’re becoming a hot topic for everyone interested in a convenient alternative to traditional nail enhancements.
What Are Gel-X Nails?
Gel-X nails are a type of nail extension known for their full-coverage and pre-shaped design. Unlike traditional nail enhancements that require sculpting and shaping during the application, Gel-X nails come ready in various lengths and shapes.
They are made from a soft gel material, making them more flexible and comfortable than their acrylic counterparts.
Benefits of Gel-X Over Traditional Acrylics
We talked about what is Gel X nails. But what are their benefits? Gel-X nail extensions come with several key advantages:
- Speedy Application: Thanks to their pre-formed design, they can be applied much faster than acrylic nails
- Flexibility: Gel-X nails tend to be more flexible, which many find more comfortable
- Healthier for Natural Nails: There’s less drilling and filing involved, which means less distress to one’s natural nails
The Science Behind Gel-X Nails
They harness soft gel’s properties for a more forgiving and adaptive fit over the entire natural nail. Gel-X extensions are attached using an adhesive, then cured using UV or LED light to secure them, resulting in a durable yet flexible nail enhancement.
The curing process plays a crucial role—it polymerizes the gel for a solid adhesion that stays put for weeks.
The Application Process
The secret to flawless Gel-X nails lies in meticulous preparation and precise application. Let’s walk through the steps that ensure a lasting, beautiful set of nails.
Preparing the Natural Nail
Before they start, a technician takes great care to prep the natural nails. This includes cleaning, filing, and gently buffing the nail surface to create an ideal base for the Gel-X tip.
It’s crucial that the natural nails are free from oils and dirt, so they often use an alcohol wipe to ensure a clean slate.
The Role of the Gel-X Tip
Next up, they select the right size Gel-X tip for each finger. A perfect fit is essential as gaps or misalignment can lead to lifting or discomfort.
The Gel-X tip is then applied to the natural nail with a specialized gel, similar to glue but much kinder to the natural nail.
Securing the Extension With LED Light
Once the Gel-X tip is in place, it’s time to cure it under an LED lamp. This step solidifies the bond between the Gel-X tip and the natural nail.
A typical cure time under the LED light is about 30 seconds to 60 seconds. The technician repeats this process for each nail, ensuring that the extension is well-secured and ready for polish, if desired.
Customization and Style Options
When it comes to Gel X nails, they enjoy a feast of styles and designs that can suit any personality. Whether one fancies a classic look or the latest trend, the versatility of Gel X nails makes it all possible.
Choosing the Right Nail Shape
Picking the right nail shape is a personal statement.
Almond and stiletto shapes are for those aiming for a chic, sophisticated style, as they elongate the fingers.
Coffin nails, with their flat tips and tapered edges, offer a bold and trendy look. On the other hand, square nails are timeless and suit those who prefer a more conventional and straightforward appearance.
- Almond: Resembles the nut; slender on the sides and rounded at the top
- Stiletto: Long and pointy, like the heel, a daring choice
- Coffin: Also known as ballerina shaped; it’s like stiletto but with a squared-off tip
- Square: Flat edge and sharp corners; good for shorter nails
Exploring Nail Art and Design Possibilities
With Gel X nails, the sky’s the limit when it comes to nail art.
A person can mirror their mood or showcase their creativity with intricate patterns, playful polka dots, or elegant French tips.
Glitters, foils, and custom decals can all be incorporated to take one’s nail game up a notch, turning each nail into a mini canvas for personal expression.
Gel Polish and Finish Touches
The final flourish to Gel X nails involves selecting the perfect gel polish.
Shiny finishes can add a touch of glamour, while a matte look provides a modern, sophisticated edge.
For those that like to switch it up, thermal polishes change color with temperature, offering a dynamic flair to their nail aesthetics.
One can opt for a single shade or combine colors and textures for a look that’s uniquely theirs.
Maintaining Gel-X Nails
Proper maintenance of Gel-X nails ensures they look their best and last as long as possible. A good aftercare routine can prevent lifting and will help determine the right time for touch-ups. Here are focused strategies to keep those Gel-X nails fabulous.
Aftercare Tips for Longevity
- Be gentle: Treat your Gel-X nails with care. Avoid using them as tools to pry things open
- Moisturize: Regular use of cuticle oil and hand lotion can keep nails flexible and prevent cracking
- Wear gloves: Protective gloves are advised when doing chores that involve harsh chemicals or prolonged water exposure
Managing Growth and Lifting
- Observe the bonding: Keep an eye out for any signs of lifting at the nail edges and deal with it promptly
- Avoid water: Prolonged exposure to water can lead to lifting, so minimize the time spent swimming or in the shower
When to Schedule Touch-Ups
- Watch the calendar: Typically, appointments should be made every 2-4 weeks, depending on nail growth and wear
- Listen to your nails: If there’s noticeable growth or if the Gel-X nails have shifted, it’s time to book a visit
The Removal Process
When it comes to taking off Gel-X nails, one should proceed with care to ensure the natural nail remains healthy and intact. Below are step-by-step guides and tips for a successful and gentle removal.
How to Safely Remove Gel-X Nails
First, they would need a few tools ready: a nail clipper, a low-grit nail file, cotton balls, acetone, and foil wraps. Here’s a bullet proof list on how to tackle removal:
- Trim the nails: Using the nail clipper, one should cut down the length of the Gel-X nails
- File the surface: Take the low-grit nail file and gently file away the glossy top coat to break the seal of the gel
- Acetone-soaked cotton balls: Soak cotton balls in acetone, place them directly on the nails
- Wrap with foil: Secure the cotton balls with foil wraps around each finger, allow them to sit
Aftercare Following Removal
Once the Apres Gel X nails have come off, it’s crucial for one’s nail health to nurture the natural nail. They should follow up with:
- Moisturizing: Apply cuticle oil and hand cream generously to replenish moisture lost from the acetone
- Nurturing: Treat the natural nails to a strengthening treatment or base coat to aid recovery
Avoiding Damage to Natural Nails
The goal is to remove Gel-X nails without harming one’s natural nails. They can achieve this by:
- Being patient: Leaving the acetone wraps on for sufficient time allows for easier removal without forceful scraping
- Gentle filing: When filing, do so with care and attention to avoid reducing the thickness of the natural nail